Building Your Own NAS: Hardware Selection and Operating System Choice
06 Mar 2026 [Blog SysAdmin Linux NAS 
Building your own network storage (NAS) doesn’t have to be expensive or complicated. In this first part of the series, I’ll show you how I built a compact, powerful, and sustainable storage solution with Docker, monitoring, and remote access using 3D printing.
This is part 1 of the “Building Your Own NAS” series, originally published on root.cz. S1: Hardware & OS · S2: Custom Case & Data Migration · S3: Service Configuration · S4: Monitoring · S5: Security & Firewall
How to Read This Series
The series is divided into several chapters. Each functions as a standalone unit, so you can read them separately, skip what doesn’t interest you, or read sequentially. Don’t expect one single correct answer — most of what I discuss depends on your specific situation, requirements, and environment.
A few notes on code examples:
>indicates output from the previous command#denotes a comment- All commands run under the root user;
sudois omitted for clarity
The Starting Point
NAS (Network Attached Storage) is quite common today, whether at home or at work. It’s a device that allows access to data over a network. We all have piles of photos, videos, documents, and other data that need storage. Sometimes cloud storage suffices, but there are situations where you don’t want or can’t send data to the cloud — you want it stored at home, under your control, and quickly accessible.
I already had one NAS at home — specifically a QNAP TS-431P, basic home storage for four disks. However, it no longer met my needs, and I started thinking about alternatives.
Why Build Your Own NAS?
There are many reasons. In my case, the most important factors were:
- Speed
- Broader usage possibilities
- Cost
- An interesting personal project I simply enjoy
Cost especially deserves mention. If you want something fast and flexible, prepare a larger budget. Even basic four-disk NASes start around 10,000 CZK without drives. When you look at models with better performance or more features, you easily exceed 20,000 CZK.
On the other hand, building your own NAS can cost around 3,000–4,000 CZK, with performance and capabilities that often easily match even more expensive solutions.
Hardware Selection
Hardware selection is probably the most complex part — there are an overwhelming number of ways to approach it. That’s why it’s good to set some boundaries at the beginning, otherwise you easily slide into endless searching for an ideal that doesn’t exist anyway.
My main criteria:
- Energy consumption
- Compact dimensions
- Sufficient performance
- Possibility for expansion or easy motherboard replacement
- Cost
My original NAS was four-disk, so data migration and backup would be necessary. The new solution therefore needed to accommodate more disks. At the same time, I wanted to reuse the original drives. I decided to plan for five total.
Data from the original storage (4× 3 TB in RAID 5) could be backed up to a single 8 TB disk. The original disks already had over 10 years of operation according to SMART.
Note: SMART (Self-Monitoring, Analysis and Reporting Technology) is technology built into modern drives (HDD and SSD) that monitors their condition and reliability. Various parameters are tracked, such as number of bad sectors, temperature, power-on count, read/write errors, etc.
The fifth disk has a special role: it serves as a backup pool where data is regularly backed up. As long as the original disks hold up, everything runs in parallel. Once the original disks start having problems, the data will be safe. The backup disk can also be easily pulled out and taken along if needed.
Motherboard
You might immediately think of a single-board computer like Raspberry Pi 5, but in my opinion they have one fundamental disadvantage — once they no longer suffice, replacement isn’t easy. Any different board will have a different format, different port layout, and different dimensions. That means redesigning the entire case, cabling, and cooling. I’d recommend sticking with standard motherboard formats that allow for later upgrades without complex redesign.
A Raspberry Pi 5 with 16 GB RAM currently sells for over 3,200 CZK, and for that price you can get a more suitable and more powerful NAS setup.
My choice was the PcZinophyte 6-Bay NAS motherboard:
| Feature | Spec |
|---|---|
| SATA ports | 6× (ideal for five disks plus one spare) |
| PCIe | 1× slot for NVMe adapter or similar |
| M.2 SATA | 2× slots — ideal for system SSDs |
| LAN | 4× 2.5 Gbit ports |
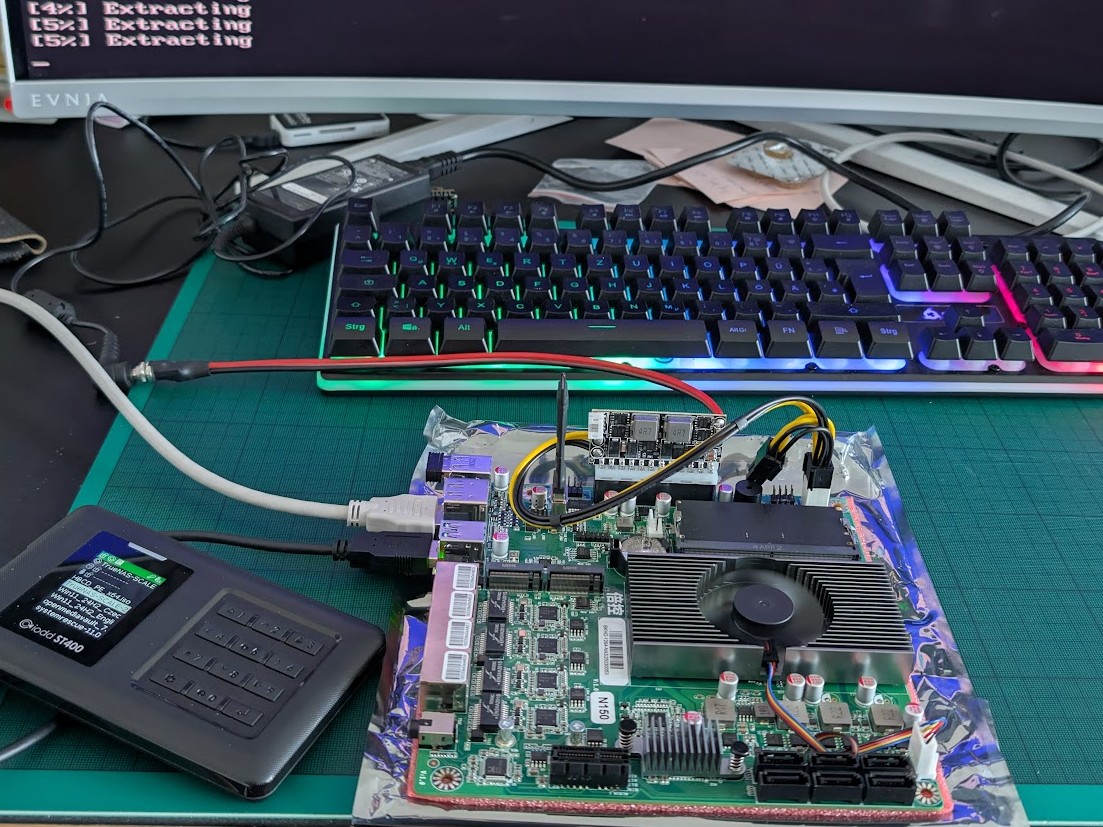
| CPU | Intel N150 (x86, quad-core, TDP 6 W) |
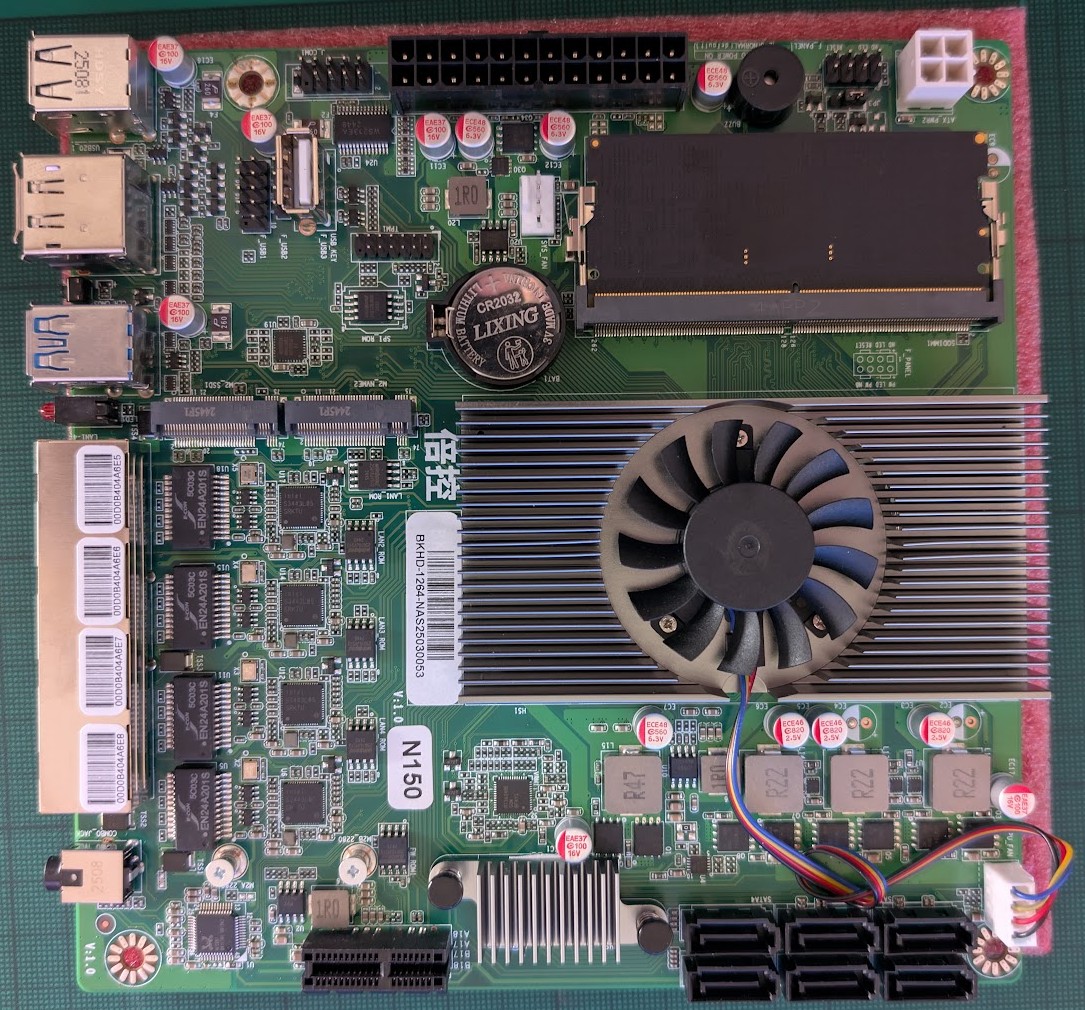
This motherboard with 16 GB RAM costs approximately the same as a Raspberry Pi 5 with the same memory capacity, but offers more ports, better performance, x86 architecture, and expansion options.
Another important advantage is the Mini-ITX format, which makes future motherboard replacement much easier.
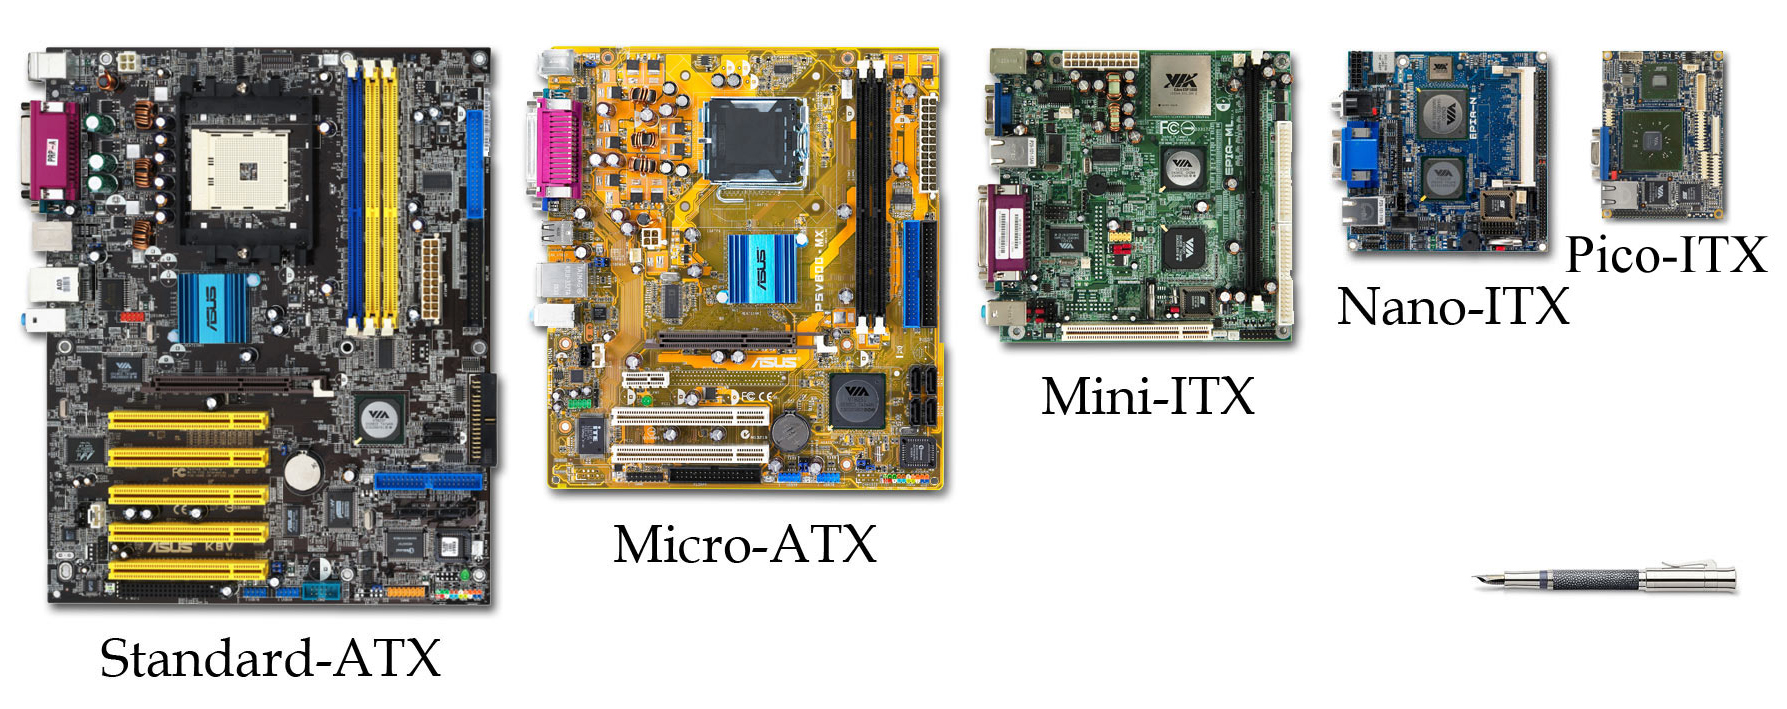
(Image source: Wikipedia)
For space reasons, the entire case uses a reduced power supply powered by an external 12V adapter (90W), left over from the original NAS. External adapters are quieter since they have no active cooling.
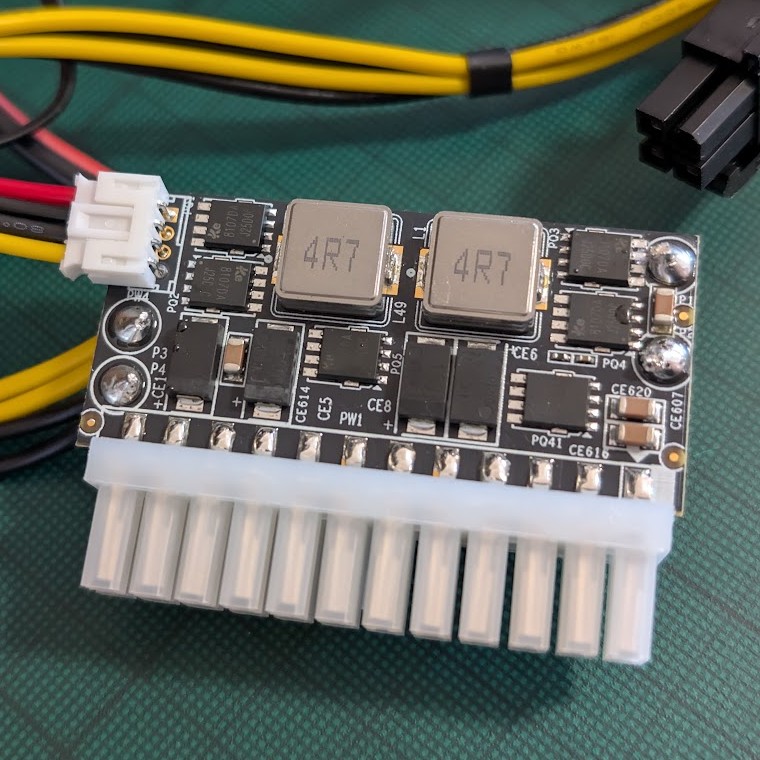
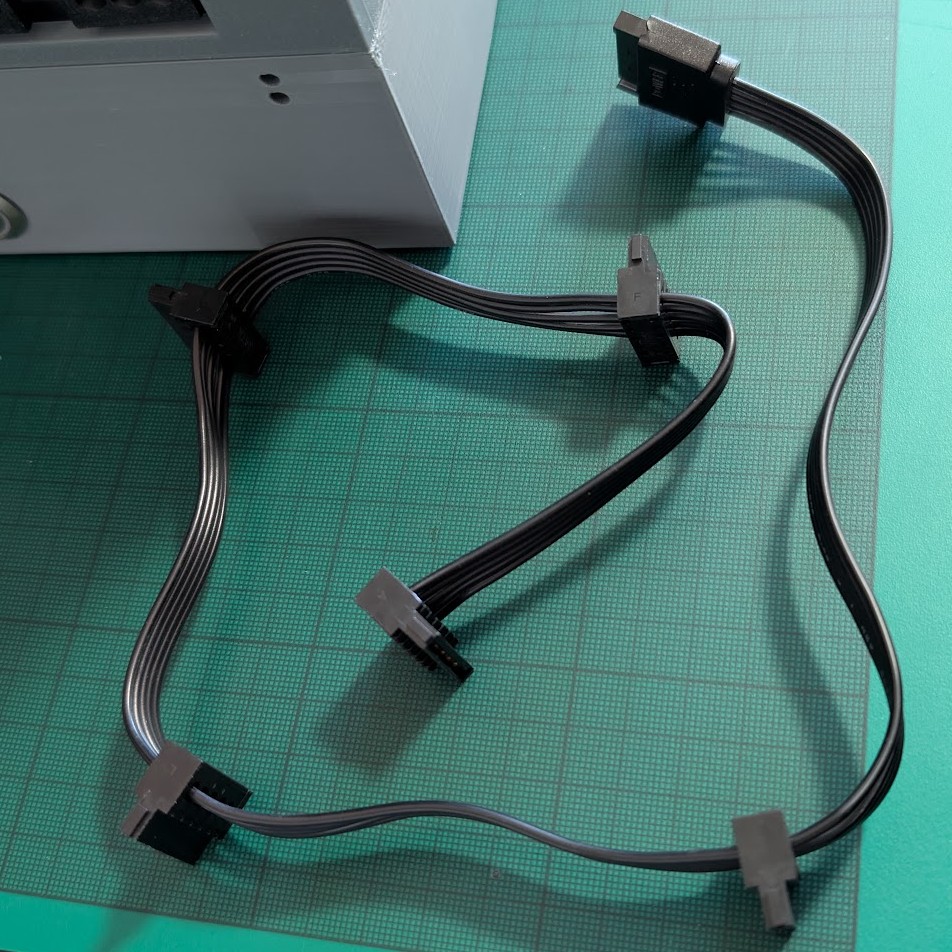
The power supply has only one SATA power connector — not a problem, easily solved with a multi-output SATA power splitter cable.
Separate System Storage
Because the motherboard has two M.2 SATA slots, those are used for the OS installation. Separating the operating system from the storage pool brings several advantages:
- Greater flexibility — you can change, delete, or restructure data pools without endangering the NAS operation itself
- Lower consumption and longer drive lifespan — system operations (monitoring, services, logging) don’t unnecessarily wake data drives from standby
- Better handling of crisis situations — if storage problems occur, the system remains functional, allowing remote resolution without physical intervention
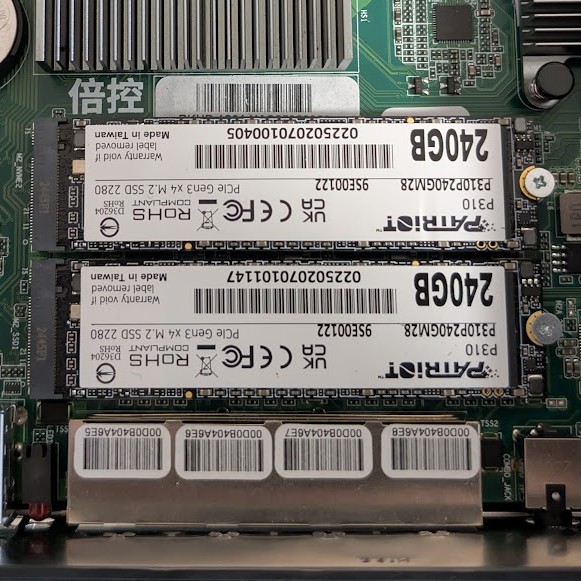
Given that M.2 SATA SSDs are inexpensive today, this is one of those decisions that makes long-term sense. I used a Patriot P310 M.2 2280 for its low power consumption.
Operating System
Because the setup runs on x86 architecture, a wide range of options opens up — from specialized NAS systems to full-featured OSes including Windows 11.
Windows 11 is worth mentioning as a non-obvious option. In Windows you can fairly easily:
- Create a storage pool using software RAID
- Set up network shares without tedious configuration
- Integrate with Active Directory
- Manage the device naturally if you’re already comfortable in Windows
Here are the top NAS-focused systems I considered:
| Name | Homepage |
|---|---|
| Disk Station Manager (Synology) | https://www.synology.com/en-us/dsm |
| TrueNAS CORE | https://www.truenas.com/ |
| OpenMediaVault (OMV) | https://www.openmediavault.org/ |
| XigmaNAS | https://www.xigmanas.com/ |
| Rockstor | https://rockstor.com/ |
| EasyNAS | https://easynas.org/ |
| Amahi | https://www.amahi.org/ |
| Openfiler | http://www.openfiler.com/ |
| Unraid | https://unraid.net/ |
| NexentaStor | https://www.nexenta.com/ |
There is no specific recommendation here — OS selection depends heavily on your needs and environment. Synology’s DSM is impressive and worth exploring. “Ready-made” systems often solve most problems right away, without the need for deeper configuration.
My ultimate choice was Ubuntu Server LTS. Why specifically?
- Long-term support (LTS) — stability and security for 5 years
- Broad application and vendor support — if you need something specific, it likely exists and runs
- Online upgrades between major versions — crucial when the system is meant to run long-term
- Flexibility — Ubuntu Server allows operating a NAS, but also easily transforms into a home server, VM host, or whatever else Linux life brings
Installing Ubuntu Server is straightforward. Thanks to standard components, it doesn’t differ significantly from installation on a regular computer.
Next: Building the Case
In the next chapter, we’ll look at how to build your own 3D-printed case and how to migrate the original data from QNAP RAID to the new solution.